Install Printers on macOS
Our current printserver does support the automatic detection and installation of printers on macOS. Therefore, not all printers will be listed when you simply try to add a new printer via the Settings dialogue. This guide helps you to set up a printer manually.
Prerequisites
To install the printer, please note down the following information:
-
Name of the printer at Vogelwarte (e.g. OG1_PrintEDV)
- This information can be found on a Vogelwarte Windows computer by connecting to
\\printserver2019in Windows Explorer.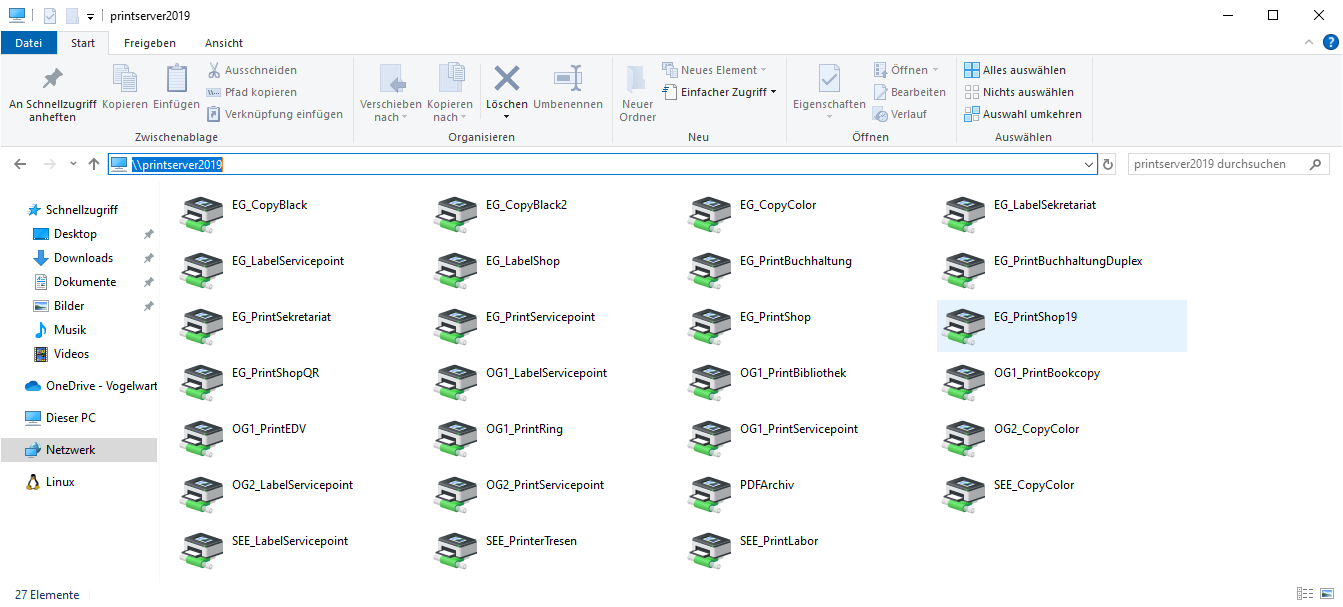
- This information can be found on a Vogelwarte Windows computer by connecting to
-
Make and model of the printer

Step-by-step Guide
-
Download and install the driver for the specific printer model from the manufacturers website. You can find some hints for some models in the Table below.
-
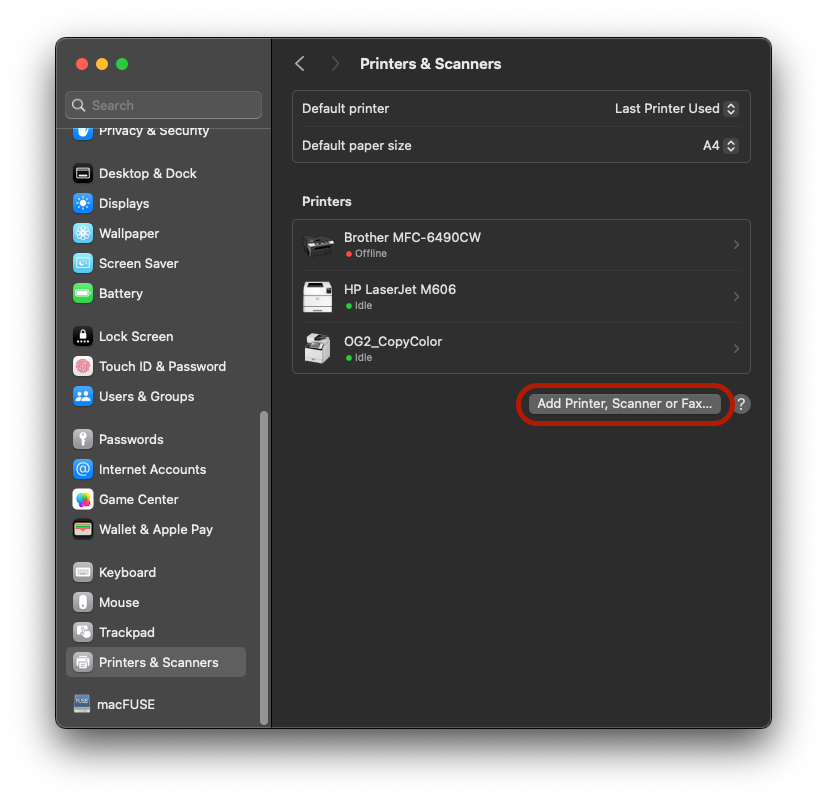
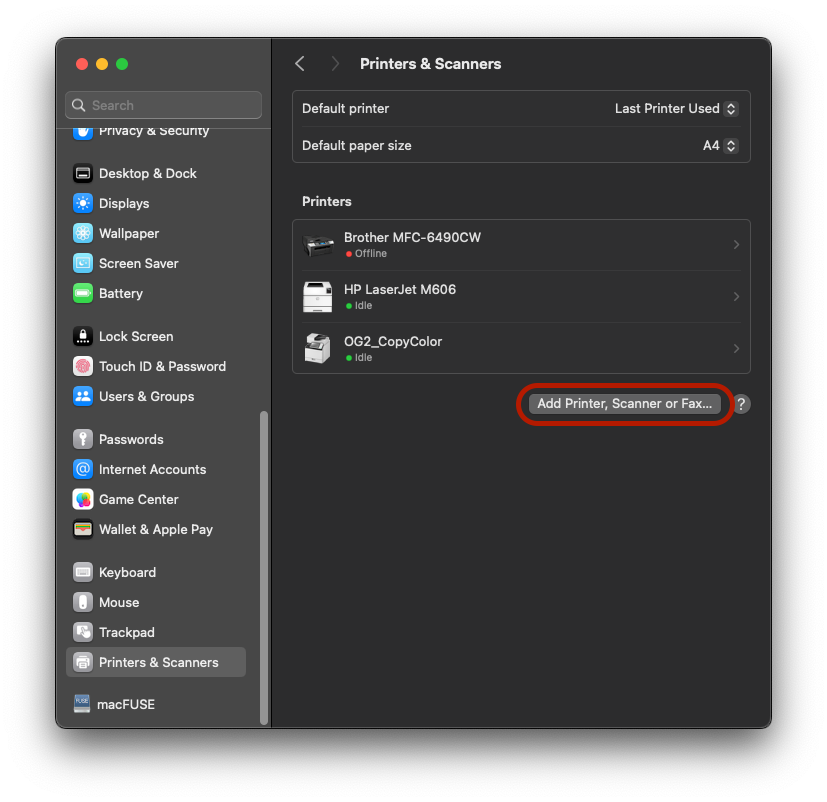
In the macOS Settings app, go to Printers & Scanners and click Add Printer, Scanner or Fax
-
In the Add Printer dialogue, right click anywhere in the Toolbar and select Customize Toolbar. Then drag and drop the Advanced icon into the toolbar.
-
Next, select Windows printer via spoolss as Type and enter the printers URL as
smb://printserver2019/<Printer Name>as shown below. Also, make sure to set an appropriate name (+optionally the location), as well as to select the correct driver in the Use dropdown (you might have to search for it). Then, click add.
-
If you wish, make a test print e.g. from https://continuousinksupplysystem.com.au/pdf/print-testing-tools-MIR.pdf. Make sure to select the correct paper size A4, which sometimes get set to US Letter.
Printer Drivers
Note: These drivers worked at the time of writing. The links might be outdated, thus make sure to download the most recent printer driver.
| Make | Model | Driver |
|---|---|---|
| HP | HP LaserJet M606* | HP Easy Admin |
| Canon | Canon iR-ADV C5840/5850* | PS Printer Driver & Utilities for Mac |
* The driver is generic and spans several models